Showing posts with label Bakerella. Show all posts

Cake Pop Basics

I have noticed in blog land there are a lot of awesome Mommas out there trying to make cake pops for Christmas parties and special treats for their children and friends and they have a lot of questions. So I am going to do a quick cake pop basic lesson today to maybe help out a little in your holiday endeavors.

  • Don't worry about being gourmet. If you haven't made them before go ahead and use your favorite store bought cake box mix. These mixes are more consistent generally and with the chocolate candy melt covering the cake ball you won't be able to tell a difference. Save your self some time and focus on the fun part!
  • Go ahead and buy you some cream cheese frosting from Betty Crocker, Pillsbury or who every you prefer. Only put about half of the can in the cake mix to make your cake balls. If you put the whole thing the cake balls adhere to each other as well. Then really mix it up and "smash" it all together so all the crumbs are coated with frosting. Don't worry about how ugly your cake mix looks. You are about to make it look super cute.
  • Get organized. I got these cute little mini bowls at target and they do wonders for helping organize the sprinkles and different candies I want to dip and decorate my cake pops with. This saves bunches of time.
  • Don't feel the need to make complicated shapes the first couple of times. I know you have seen Bakerella's awesome bear, dog, two layer wedding cake cake pops but until you get the basic round cake ball down just stick to that. There is so many amazing ways to master the simple round cake pop I promise you will still have tons of fun.
  • Invest in a small ice cream scoop with scraper inside. These help form the perfect cake ball and the perfect size cake ball. You need the cake balls to be on the smaller side or they are going to want to fall off your lolly-pop sticks. They are also handy in helping you fill the center of you cake balls if you want. Just pack the ice cream scoop half fully, stuff in your favorite filling or candy (I used Reece's pieces) and then pack on the top of the ice cream scoop to finish forming the cake ball.


  • Place your cake balls on a cookie sheet you have covered with parchment paper. You can get parchment paper in an baking section of the grocery store. If you are going to just make cake calls and skip the stick go ahead and toss the cookie sheet in the freezer for about 10 minutes. If you are going to make cake pops melt some of your candy melts and dip the ends of the lolly-pop sticks in the candy melt and then insert them into the cake balls. Place the cake pops with the inserted lolly-pop sticks in the freezer for 10 minutes until they nice a cool but not frozen. Having them cool is the key to good dipping. You don't want them frozen or too cold though because the candy melt will harden to fast after you dip them and melt.
  • Take them out of the freezer and dip in the candy melt. I use a Chocolate Pro for dipping all my cake pops. It is only 20-30 dollars at WalMart depending on the sales and the seasons and keeps the candy melt the perfect temperature. If you are using Wilton or Merkins candy melts I would fill the Chocolate Pro up to the top with candy melts, let them melt down a litte and then add a tablespoon of vegetable shortening to the melts to help thing them out and make it smoother for dipping. If your candy melts are too tick the cake pops will get to heavy and fall off the ends of the stick.
  • Once you dip the cake ball or cake pop slowly turn the cake pop over the candy melt and let the excess chocolate drip off. You will also need to do the "tap" method. I lightly tap the stick against the edge of the Chocolate Pro while turning the cake pop to help get excess chocolate off. This will keep your cake pops looking smooth and prevent dripping while the candy melts harden.
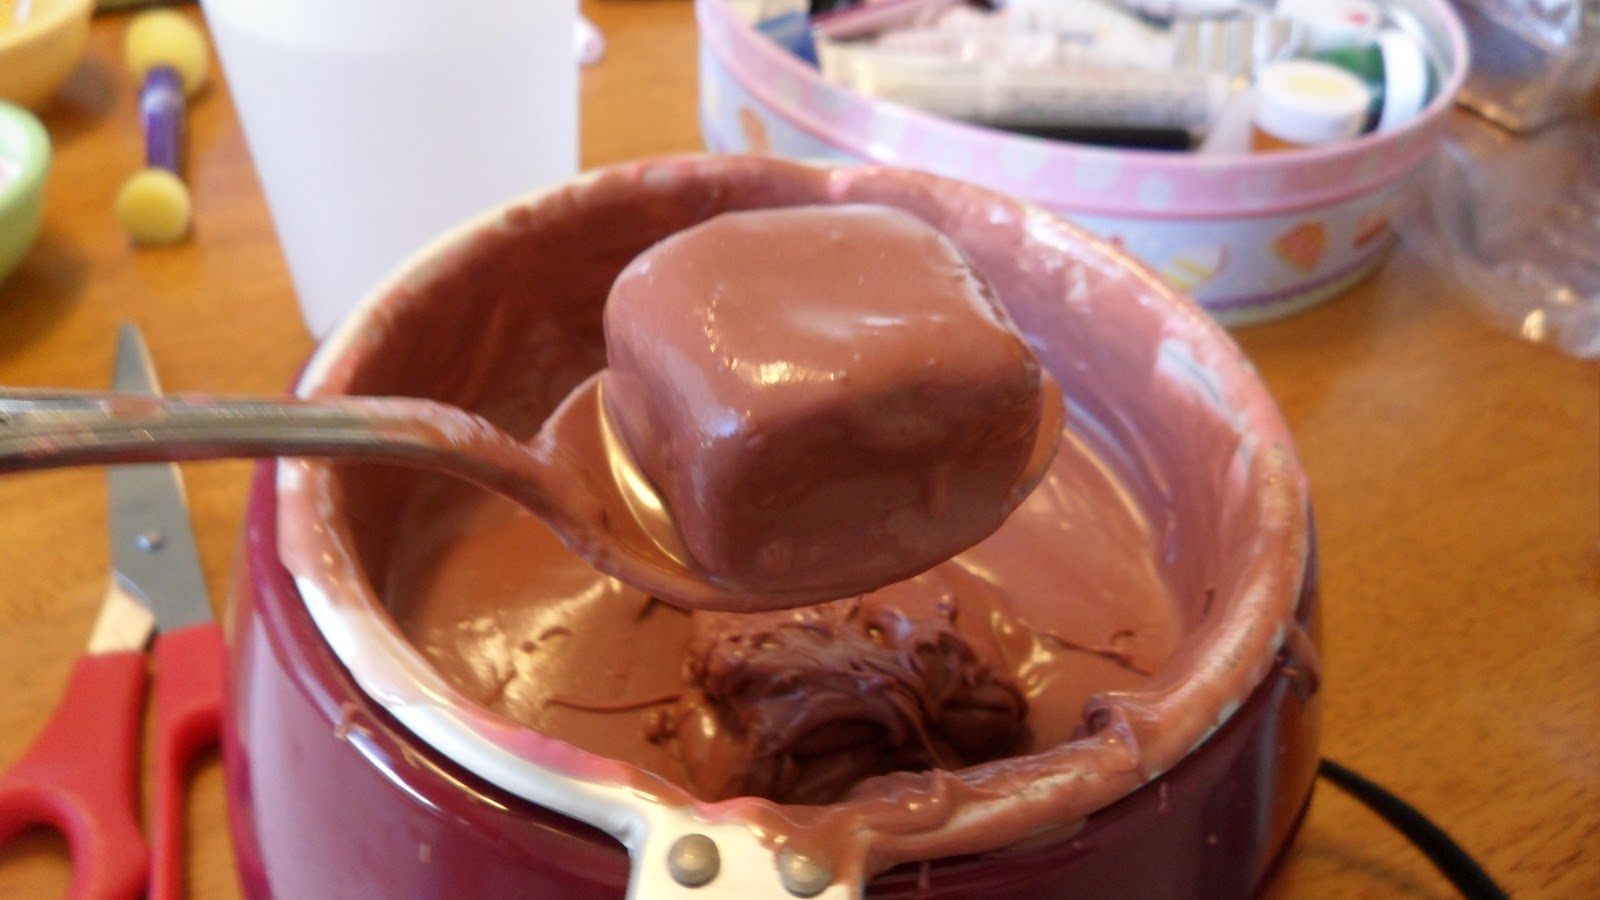
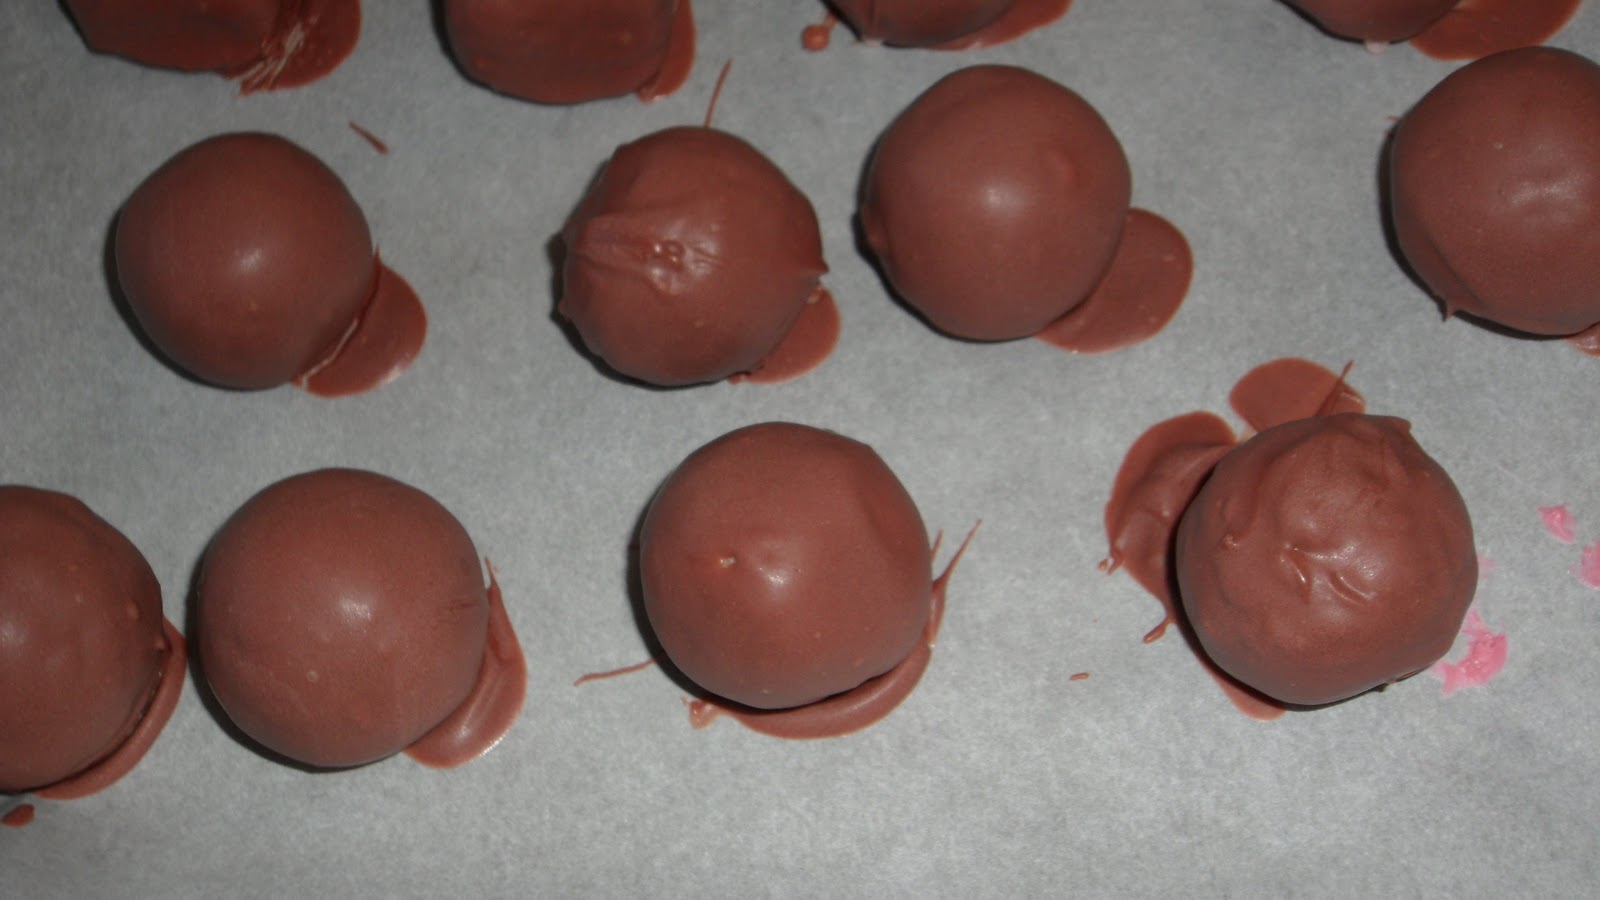
  •  If you are using the cake ball method place the cake ball in a large deep spoon, dip the spoon in the candy melt and then let the excess chocolate drip off the spoon while tapping the spoon lightly to help get rid of it. Then gently let the cake balls slide off the spoon onto parchment paper to dry. Take a tooth pick and draw a line around the excess candy melt that forms at the bottom. When it drys you will have a perfect cake ball.


  • Let the cake pops dry standing up in a Styrofoam block or upside down on a piece of parchment paper. If you are going to decorate with sprinkles dip the cake pops in the sprinkles after you dip in candy melt or if you want a pattern let the cake pops dry and then decorate with sprinkles.

Bring on the pumpkin..pie pops that is.

I love pumpkin pie. I know everyone says that but it is my all time favorite. That is saying a lot because I really really love me some pie. Apple pie, sweet potato pie, cherry pie and pretty much every other pie ever made. If you pie it, I want to eat it. So that being said I love pumpkin the most. That is why when I saw pie pops on Bakerella's site I had to make some pumpkin pie pops. Now on Bakerella's site she uses cherry pie mix but you go right ahead and fit your own pie needs. My pie needs are pumpkin so that is what we are doing today. We are also going to be making Bakerella's pumpkin pie bites with our left overs.

First we need to make pumpkin pie mix. Now there is nothing wrong at all Ladies and Gents with buying an already thrown together pumpkin pie mix and skipping this first part. However as I mentioned before I love me some pumpkin pie and only homemade my way will do the trick.

We are going to need:
4 oz. cream cheese, room temperature (Bakerella's calls for 8 ounces but I use four to cut down on the fat
                                                             and it works just a great.)
1/2 cup sugar (I use brown sugar only when making pumpkin anything)
1 1/2 cup canned pumpkin
3 eggs (only two go in mix, one is for washing the pie crust with egg white)
1 teaspoon vanilla (If you love vanilla like me don't be afraid. Go ahead and add a dash more)
1 teaspoon pumpkin pie spice (Ok I use my own spice mix of cloves, honey and cinnamon but you do your pie however your Momma raised ya.)
Cookie cutter: heart shaped, round shaped, pumpkin shaped. What ever fits your moods Cupcakes.

Now if you have a mixer this will be even easier for you. I am not The Princess of anything (except
laundry. I totally rock out laundry) so I can't ever seem to justify spending a car payment on a mixer. :(

Get ready to get your beat on!


Place some parchment paper on the surface you are going to be working,
grab your pie mix, store bought pie crust (unless your Martha Stewart and then you are
awesome and should only ever eat your own homemade pie crust because
everything else would be lame)  some flour and lolly-pop sticks.

My little Matryoshka Measuring cups I got from
Bakeitpretty have a duel purpose today. They are going to be
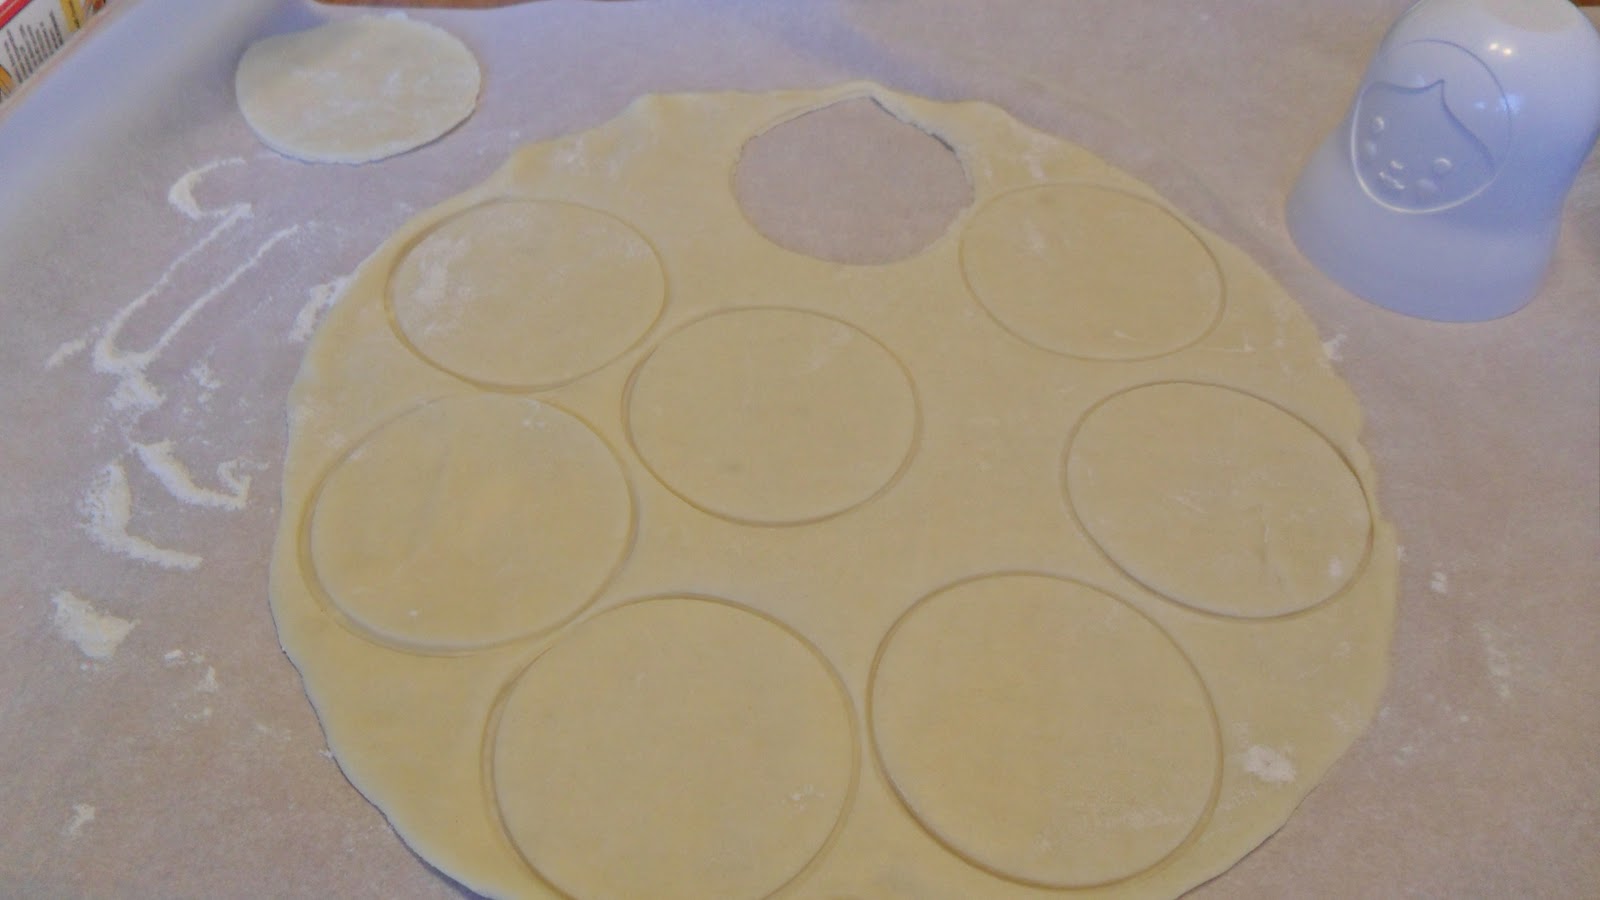
my prefect size round cookie cutters to cut out the pie shells.


Just press down and twist with your cookie cutter until you have an equal amount
of circles. Remember you will need two circles for each pie pop. One for the back and one
for the front.

Once I have the circles I like to line them up factory style and place the lolly-pop
sticks in the bottoms circles. Just half way should be prefect.


Add the pie mix to the center of the pie circle with the lolly-pop stick already in it.
Then cover with a second circles and crimp the sides down with one of the extra
lolly-pop sticks or a fork so it is nice a sealed. Don't worry if a little leaks out. Just
run a lolly-pop stick along the edge and it will clean that right up.


My premade pie crust I bought came with two pie crust so after I finished the
pie pops I decided to make mini pies with the left over pumpkin filling and crust.
Same principle as the pie pop. Cut out the circles and then press one pie
circles down into a mini muffin pan. Fill in with extra pie mix.  


After I baked them at 375 degrees F for 12 minutes. They came out perfect.
Don't worry about them being a little bubbly when you take them out they will
deflate a little while cooling.

Now we have the pie pops and mini pies all baked and cooled we need to decorate Cupcakes!


I used a brown chocolate candy writer to decorate these. Bakerella
drew pumpkin face on her mini pumpkin pies and those were cute too but I
wanted something a little more traditional for this Thanksgiving and little less
cutie.


Do you have a coffee pot Cupcake? Well if you do then I am going to tell
you melting these will be super easy. Just fill the coffee pot with hot water (not boiling) from the tap.
Place the tube in the water until it is soft and chocolate melted. Then open it up and paint away!


Isn't pumpkin just the best invention ever.

Yummy.

I hope everyone has an amazing Thanksgiving filled with lots of love, family, kindness, thankfulness and some really good eatins! Take pictures of you Thanksgiving meals and share them with me at my Community: Mommy Baking love into it.. I would love to see them Cupcakes!

Working Woman Heroine Cake Pops.

One of my really good friends and co-workers asked me to make him some cake pops for his new bride and some of her friends after she tried one of my cake pops and really like it. I was more then happy to do this and make them extra special because seeing how happy he is after all these years makes me happy. His path to a good woman has been long and much harder then a good man like him deserved but now he has found a sweet, honest and loving woman who just happens to be beautiful to boot. I have not been blessed with the chance to get to know her really well yet but I know she is a hard working woman helping my friend raise his two cute-as-a-button little girls. She wears a uniform like me everyday to work (not exactly like mine but not satin and lace either) and that is what inspired me when I sat down to start creating a special batch of Working Woman Heroine Cake Pops.


First I painted my chocolate bows and buttons using candy molds I purchased at CandyMoldCentral.


I melted the candy melts and removed my cake pops I made the night
before using Bakerella's basic cake pop recipe like always. I made milk-chocolate cake
with a dash of vanilla flavoring in the cream cheese frosting mix.


I used the basic cake pop construction found in Cake Pops by Bakerella and
some recipe flavoring tips found in Martha Stewarts175 Cupcakes. If you
don't have these books I suggest you go get them. They are such a treasure
of ideas and inspirations.
I rolled all the cake pops in honey Graham crumbs after dipping them in
white chocolate.


Working Woman Cake Pop
They might make us wear man clothes to work but
on the inside it is all satin and lace!
They can't hide our cupcake smiles!


After Hours Cake Pop
Our Working Woman has put in a hard days
work and now it is time to doll it up and
step out on the town in style.


Bare Essentials Cake Pop
Now it is time for our working woman to scrub her face,
brush her teeth and rest her weary head to get
ready for another long day.


Working Women Cake Pops


Working Women Cake Pops


Working Women Cake Pops


Working Women Cake Pops


Working 9 to 5 Cake Pops


I used my daughters construction paper for the background and some
awesome scrap booking glitter paper I found at Michael's. I hope you like them.
  

Sister's are doing it for themselves...


I am a new blogfrog memeber and just joined the Hump Day Blog Hop.
It is a great idea and I highly recomend you join and hop along!

Hero Cake Squad to the Rescue!

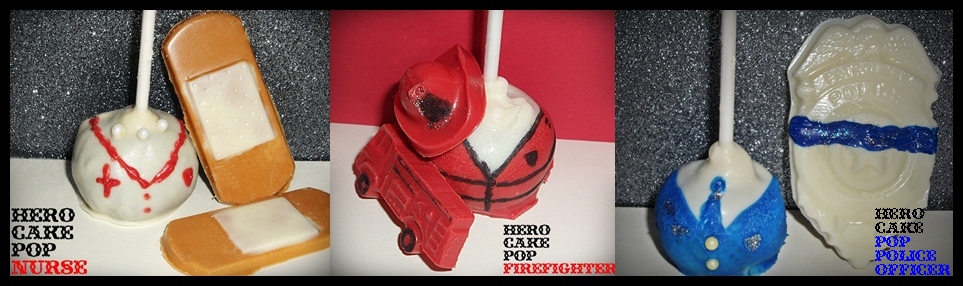
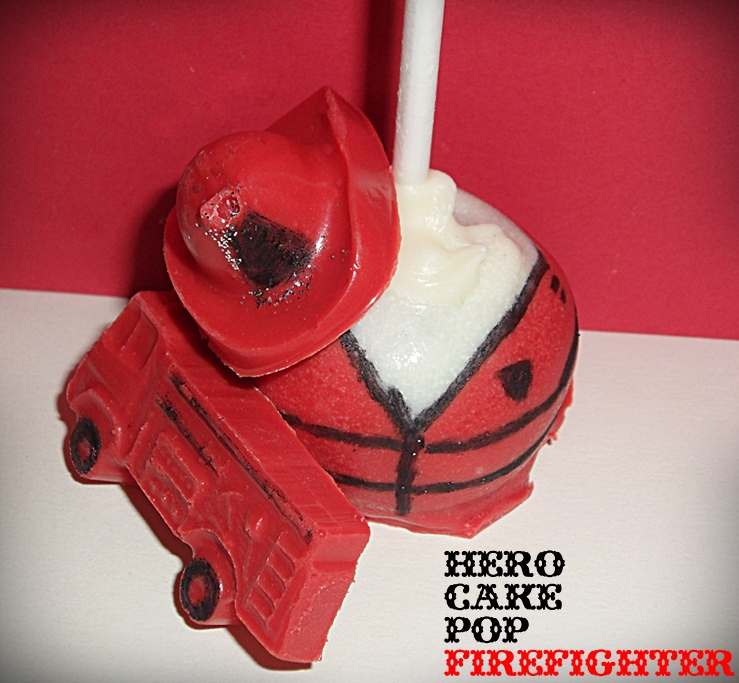
Today I want to introduce you to HeroCakePops mascots: Hero Cake Squad! This is just a first attempt and hopefully all three original members of the Squad will get better as we go. Introducing Cake Squad Hero Fireman, Police Officer and Nurse:


I could not find a mini police hot chocolate mold anywhere. If you know
of anyone that sales or makes them let me know!


The little fireman hat and truck I found where I get most my molds at CandyMoldCentral.


I couldn't find a nurses hat mold either. I have been thinking
about it thought and think next time I will try a mini
white marshmallow with a painted red cross until I can find a
nurse hat chocolate mold.
 

The Queen Cake Popalious

If you have a hero in your life and you want to make their belly smile with me you will need one basic thing!


Ok...so you will also need cake/chocolate/cany melts/sprinkles/cookie cutters and lots of love and time but a must start is the new book by the Queen of Cake Popalious herslef: BAKERELLA 
Also a little helper or two wouldn't help. I am lucky enough to have my hero number 1 Jordan helping me. In fact I think our first adventure in making our heroes smile will be making Jordan's Special Needs class some yummie Mummy CakePops for their Halloween party!