
.JPG)
One of my favorite parts of fall is teaching my children the traditions of family and helping making secret traditions of our own. The weather is cooling, snow is on the way (well for you it is, I live in a desert. Don't be jealous) and you are going to have many stir crazy days to make it through. Don't stress just yet. I am going show you a simple treat to keep your little ones tummies satisfied and a card game to keep their growing minds occupied.
Being a Texan born and true, there are many traditions in my family. Football being the chief among them. It is important to me to teach and involve my children in the things I am passionate about to see what might stick. This week I will begin teaching my Daughter the game I have loved since I was fourteen years old. Magic the Gathering is a strategy game with a little spice of random chance. The cards are designed by brilliant minds and painted by skillfully artistic hands. Just look:

The great thing about Magic the Gathering is it can be as simple or advanced as the person who builds the deck. It challenges the mind on many levels. If you are interested in getting your child into a social activity that can occupy their nights at home or become an event playing at your local comic book store I highly endorse this! Now on to the yummy!
First thing first. I loaded the kids up and hauled them to our local comic store which holds Magic: the Gathering events and tournaments. It also sells tons of cards. In the newest set released Return to Ravnica you get to join a Guild and battle for the honor and glory. I am Selesnya. It reminds me of our Mommy Blogging community. The Selesnya Guild is about nature, supporting and helping the collective group. They are teachers, fighters and one.
.JPG)
We picked up some new packs of Return to Ravnica cards and then headed home to bake our favorite treats. Oatmeal cookies! I decided Oatmeal cookies would fit perfect with our guild choices since they are lovers of nature. We are going to put Oats, nuts and chocolate to delicious use.
What we need:
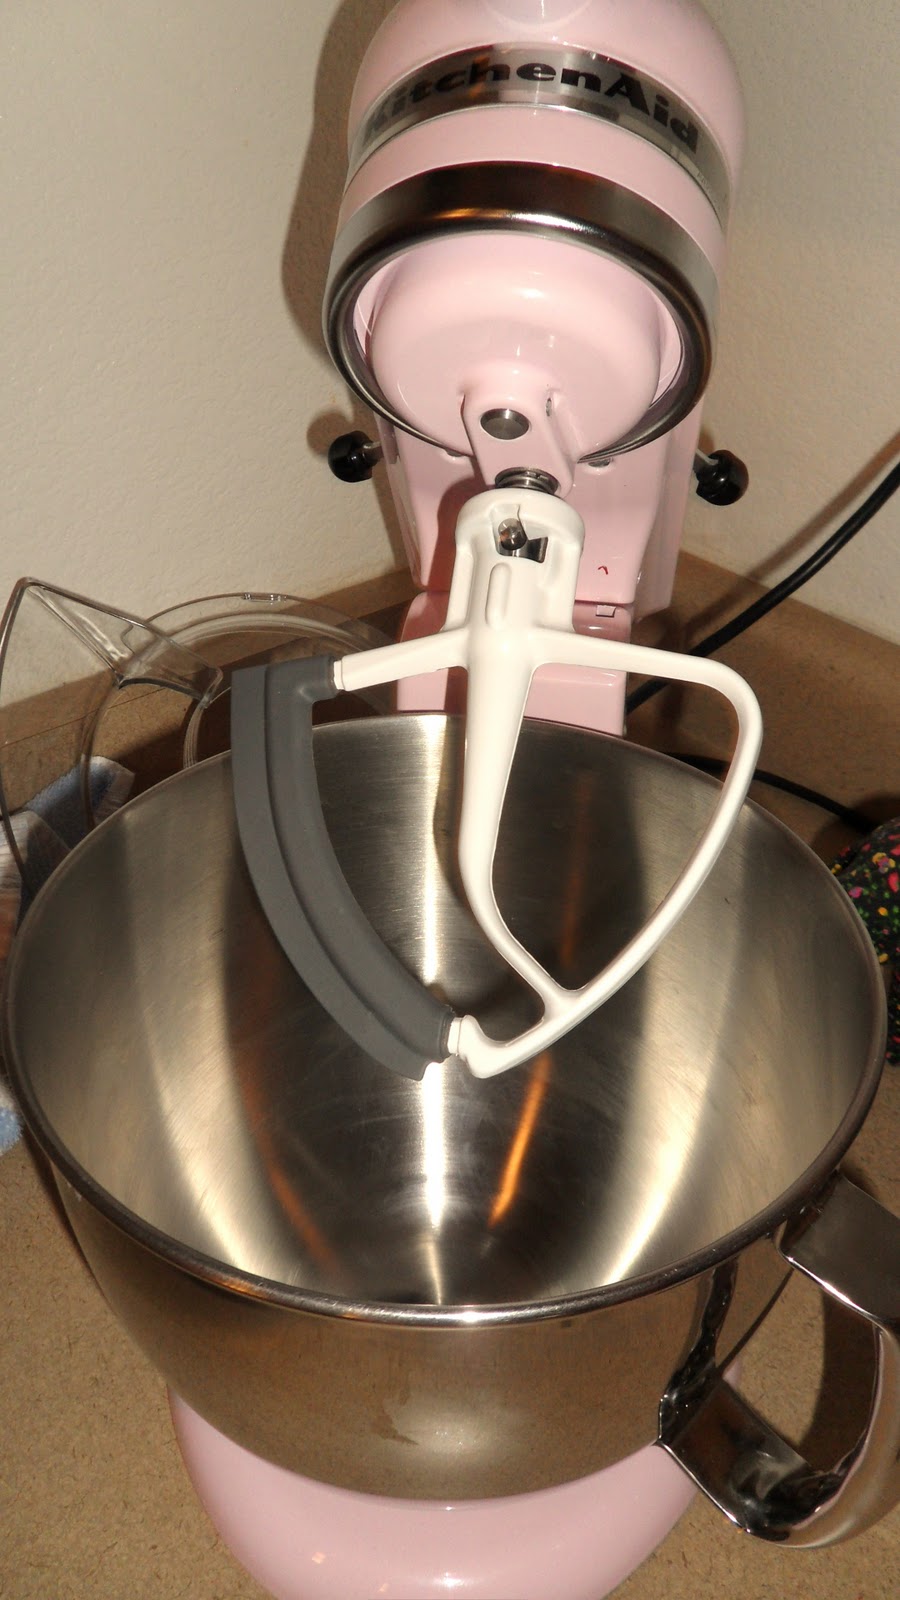
.JPG)
Yes. I know if this was a professional kitchen you be having Vapors at the mess. It's not though.
Let the babies help and then declare your kitchen a disaster area after all is said and done. This is about as simple and classic of an oatmeal cookie you can find in just about every cook book in the multiverse. I just prefer chocolate chips to raisins.
Ingrediants
1 1/2
cups brown sugar
1
cup butter or margarine, softened
1
teaspoon vanilla
1
egg
2
cups quick-cooking oats
1 1/2
cups all-purpose or unbleached flour
1
teaspoon baking soda
1/4
teaspoon salt
1
cup semisweet chocolate chips (6 oz)
1
cup chopped nuts (pecans if you please)
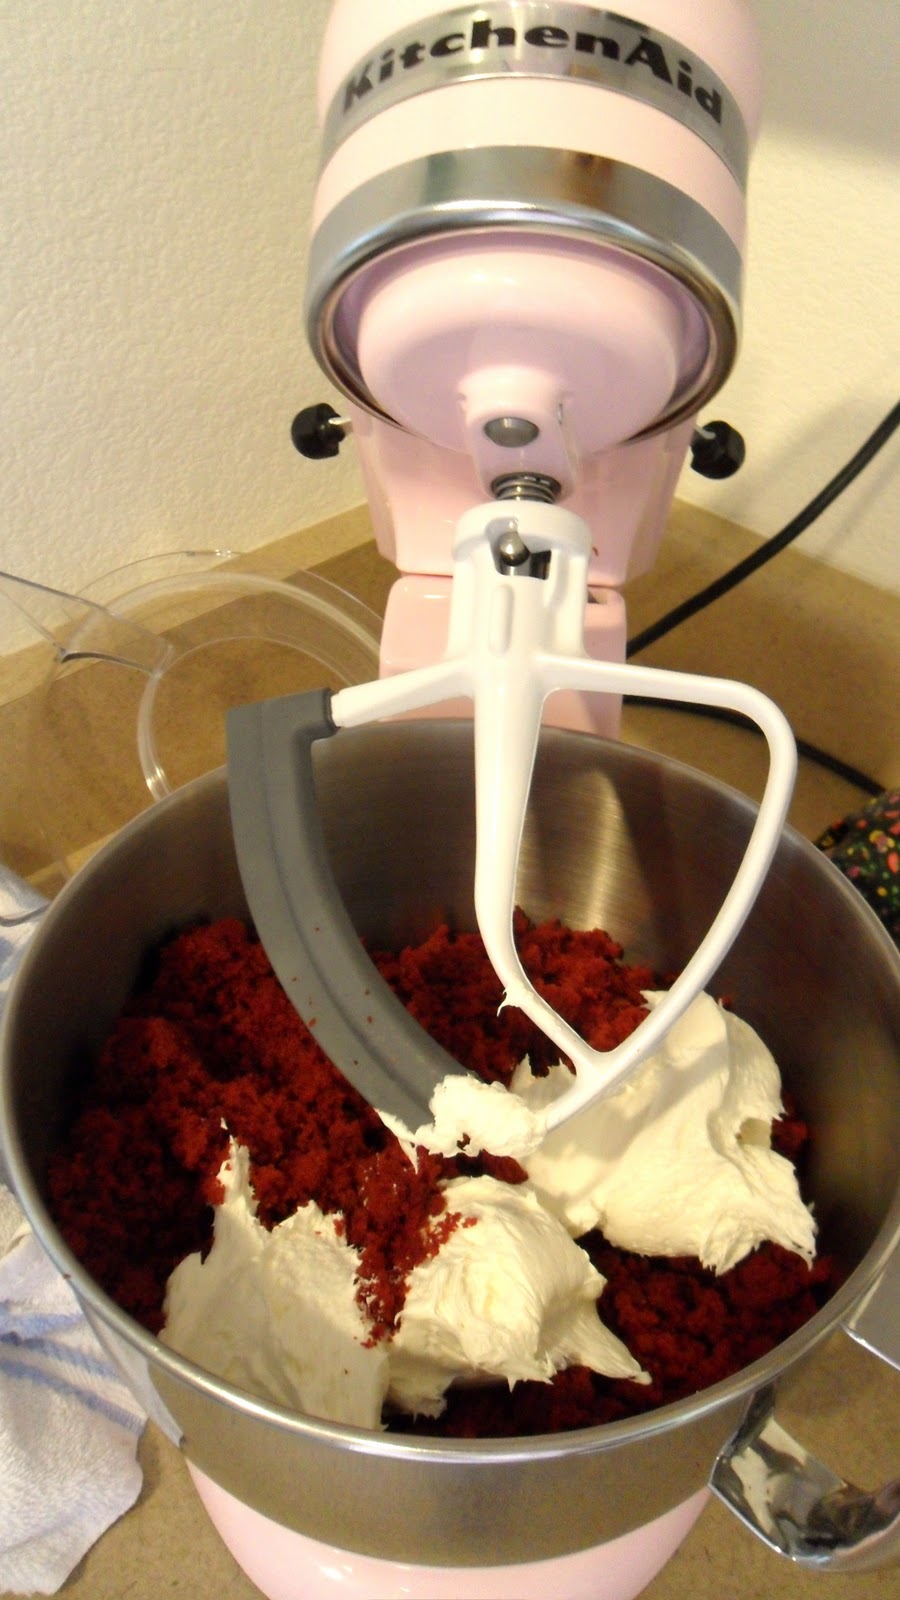
.JPG)
When the mixture looks something like this gooey edible mess it's time to doll out cookie drops. Get out your small ice cream scoop and scoop drops of the mixture onto an ungreased cookie sheet.
.JPG)
So I'm not really superstitious but I still like to do my baking in front of my Irish cross. Don't judge me and I won't laugh when you throw perfectly good salt over your shoulder.
At this point we pause our broadcast. Someone hasn't had Mom's undivided attention for ten whole minutes.
.JPG)
Ok. Down for a nap. God bless sleeping babies. Amen.
.JPG)
This is about the size and space you want the cookie drops on the cookie sheet. Now just shove those bad boys in the oven and cook for 10 minutes. One of the things I love Magic: the Gathering is it gives you so many chances to be an individual while also being apart of something huge. Just like baking. Here is where our roads divide I'm gooey on the inside. I take mine out of the oven at 9 minutes and let them finish cooking/cooling on the cookie sheet. You might be firm on the inside (I love you anyways, promise). If you are then you might want to leave your cookies in until 11 minutes. In baking one minute can be the difference between delicious and disaster.
.JPG)
Get in my mouth!
.JPG)
I hope you and your little ones have a Magical fall and extremely satisfied tummies.
The Wizards behind the curtain did not ask me/ want me / pay me to write anything in this blog. All views expressed are my own.
If you have any questions about Magic or Baking feel free to tweet me:


