I have noticed in blog land there are a lot of awesome Mommas out there trying to make
cake pops for Christmas parties and special treats for their children and friends and they have a lot of questions. So I am going to do a quick cake pop basic lesson today to maybe help out a little in your holiday endeavors.
- Don't worry about being gourmet. If you haven't made them before go ahead and use your favorite store bought cake box mix. These mixes are more consistent generally and with the chocolate candy melt covering the cake ball you won't be able to tell a difference. Save your self some time and focus on the fun part!
- Go ahead and buy you some cream cheese frosting from Betty Crocker, Pillsbury or who every you prefer. Only put about half of the can in the cake mix to make your cake balls. If you put the whole thing the cake balls adhere to each other as well. Then really mix it up and "smash" it all together so all the crumbs are coated with frosting. Don't worry about how ugly your cake mix looks. You are about to make it look super cute.
- Get organized. I got these cute little mini bowls at target and they do wonders for helping organize the sprinkles and different candies I want to dip and decorate my cake pops with. This saves bunches of time.
- Don't feel the need to make complicated shapes the first couple of times. I know you have seen Bakerella's awesome bear, dog, two layer wedding cake cake pops but until you get the basic round cake ball down just stick to that. There is so many amazing ways to master the simple round cake pop I promise you will still have tons of fun.
- Invest in a small ice cream scoop with scraper inside. These help form the perfect cake ball and the perfect size cake ball. You need the cake balls to be on the smaller side or they are going to want to fall off your lolly-pop sticks. They are also handy in helping you fill the center of you cake balls if you want. Just pack the ice cream scoop half fully, stuff in your favorite filling or candy (I used Reece's pieces) and then pack on the top of the ice cream scoop to finish forming the cake ball.


Place your cake balls on a cookie sheet you have covered with parchment paper. You can get parchment paper in an baking section of the grocery store. If you are going to just make cake calls and skip the stick go ahead and toss the cookie sheet in the freezer for about 10 minutes. If you are going to make cake pops melt some of your candy melts and dip the ends of the lolly-pop sticks in the candy melt and then insert them into the cake balls. Place the cake pops with the inserted lolly-pop sticks in the freezer for 10 minutes until they nice a cool but not frozen. Having them cool is the key to good dipping. You don't want them frozen or too cold though because the candy melt will harden to fast after you dip them and melt.
Take them out of the freezer and dip in the candy melt. I use a
Chocolate Pro for dipping all my cake pops. It is only 20-30 dollars at WalMart depending on the sales and the seasons and keeps the can
dy melt the perfect temperature. If you are using Wilton or Merkins candy melts I would fill the Chocolate Pro up to the top with candy melts, let them melt down a litte and then add a tablespoon of vegetable shortening to the melts to help thing them out and make it smoother for dipping. If your candy melts are too tick the cake pops will get to heavy and fall off the ends of the stick.
Once you dip the cake ball or cake pop slowly turn the cake pop over the candy melt and let the excess chocolate drip off. You will also need to do the "tap" method. I lightly tap the stick against the edge of the Chocolate Pro while turning the cake pop to help get excess chocolate off. This will keep your cake pops looking smooth and prevent dripping while the candy melts harden.
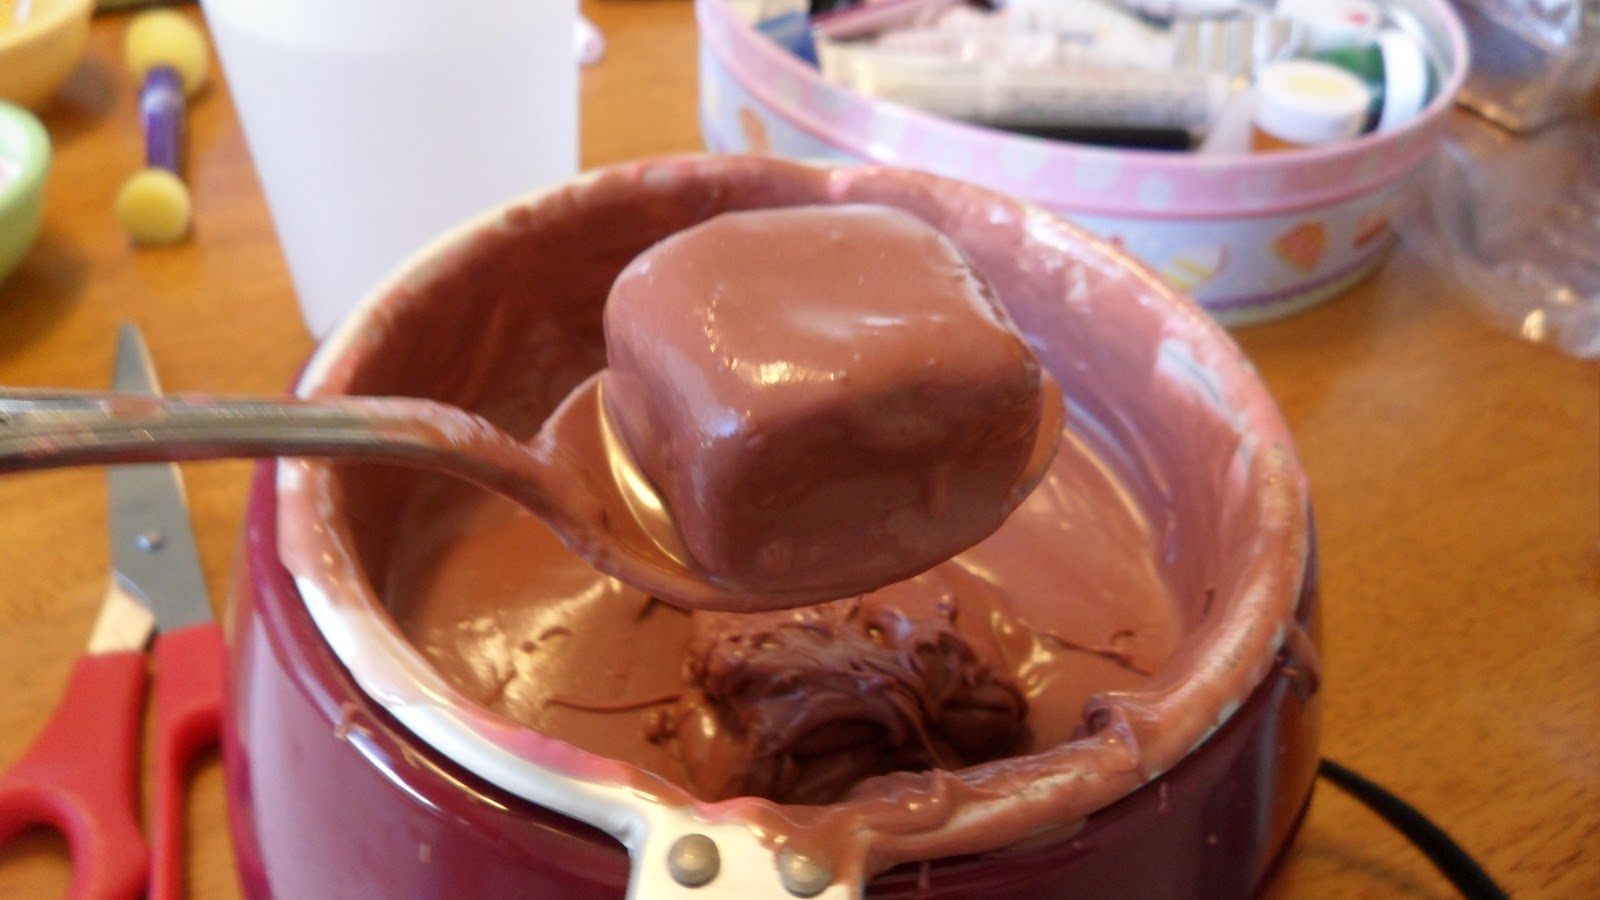
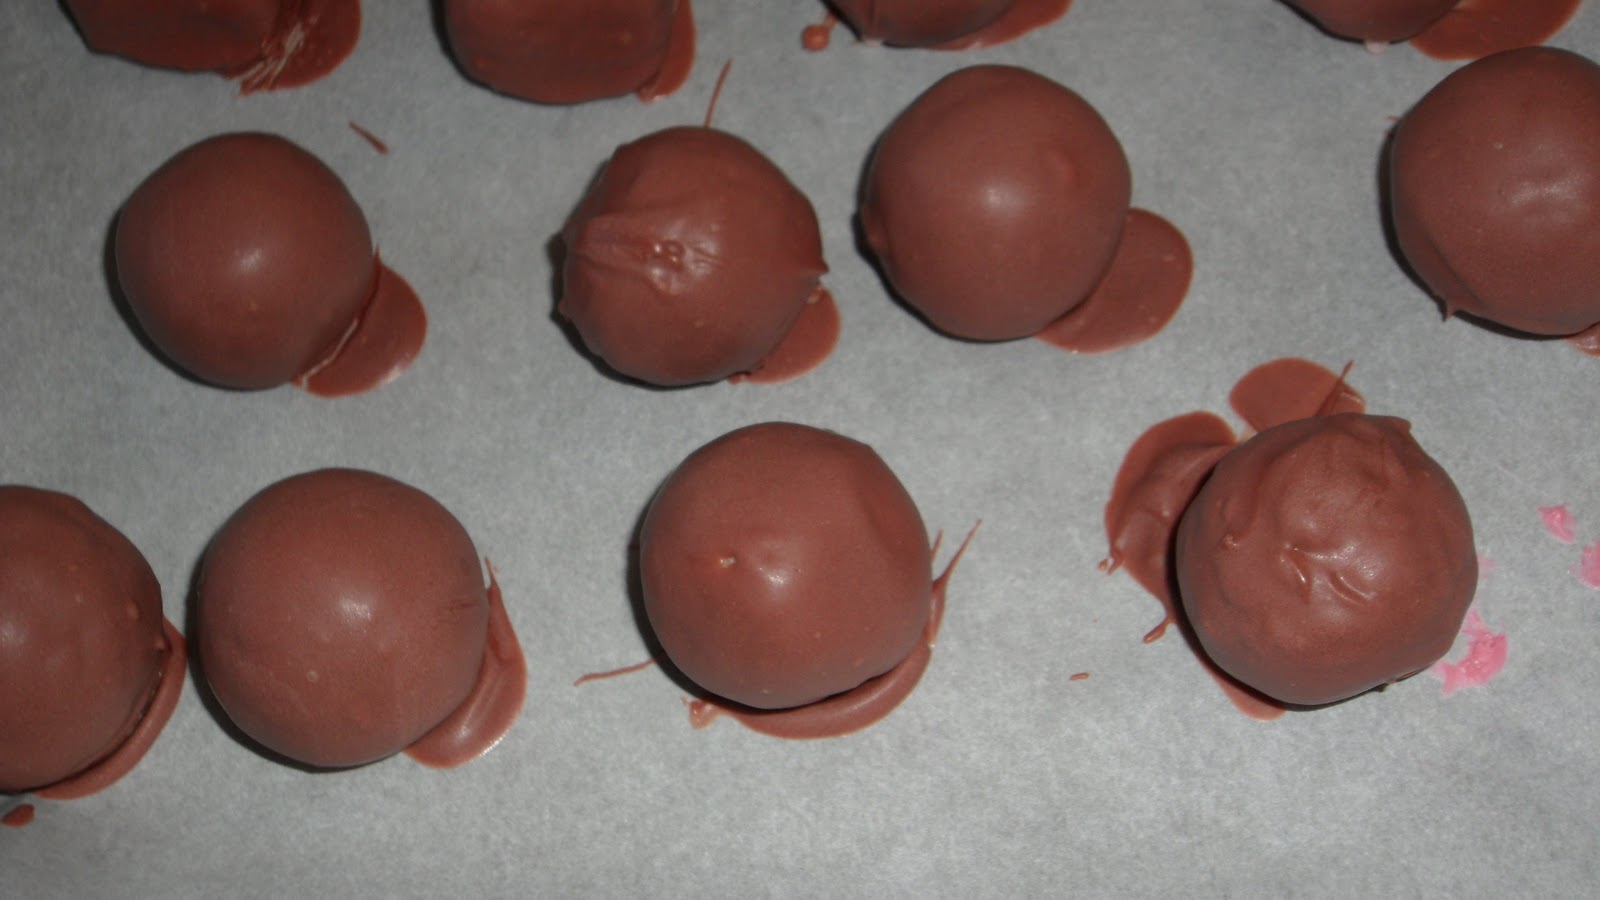
- If you are using the cake ball method place the cake ball in a large deep spoon, dip the spoon in the candy melt and then let the excess chocolate drip off the spoon while tapping the spoon lightly to help get rid of it. Then gently let the cake balls slide off the spoon onto parchment paper to dry. Take a tooth pick and draw a line around the excess candy melt that forms at the bottom. When it drys you will have a perfect cake ball.


- Let the cake pops dry standing up in a Styrofoam block or upside down on a piece of parchment paper. If you are going to decorate with sprinkles dip the cake pops in the sprinkles after you dip in candy melt or if you want a pattern let the cake pops dry and then decorate with sprinkles.


I was curious how you make these little beauties. Thanks for the instructions.
ReplyDeleteYIPPPEEEEEE!!! This was SUPER Helpful! Thanks so MUCH for detailing everything! I'm so excited to try them again now! :)
ReplyDelete