For the record...I made these in Sept for my niece's first birthday party. I made them before I had our guide to life as we know it Cake Pops by
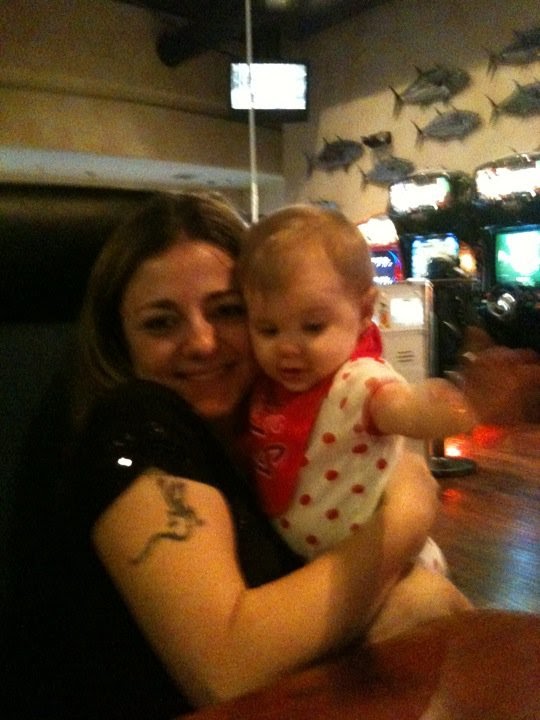
Bakerella. Since we have it now turn to page 99 for an awesome guide to lady bug cake pops. I made mine the ole fashioned way by rolling up some cake and shaping accordingly. First lets met our hero and birthday girl Payton Sophia:
I know being that cute shouldn't be legal!!
Now here is what we will be making:
 |
I made lady bug cake pops to match the theme of her party!
|
With her Auntie! I keep trying to steal her but my
Sister knows where to find me so it hasn't worked yet...back to cake pops!
1st bake some cake and crumble:
2nd roll up some cake balls. I melt a little candy melt and dip the stick in it to act like glue and then place the lolly pop sticks in the cake balls before chilling. Some do this step after chilling but I find they stay better this way...
3rd. Once we have chilled the cake pops so they are cool enough to dip and stay formed correctly remove and start dipping.
Some points of interest:
Chocolate Melter is a must for anyone who has a lot of heroes in their lives that need belly smiles. Melting in a microwave and stirring and melting some more is for the birds. I found mine at WalMart for twenty dollars.
I always like to make some classic standing cake pops and some turned upside down. I think it gives what ever display you are going to use to show off your cake pops more depth and variety.
This awesome cake pop display was made for me by my awesome boyfriend/hero
Ryan.
Now because there is no such thing as enough when it comes spoiling my nieces and nephews I made a matching basket full of home made chocolates and more lady buy pops!


No comments:
Post a Comment